How to Add a Bleed to a Canvas
This step by step manual will teach you how to correctly add a bleed to your canvas in illustrator. Bleeds allow you to run artwork to the edge of a page. On a press, the artwork is printed on a large sheet of paper and then trimmed down to size. If you do not allow for a bleed, any misalignment while cutting will result with the artwork not running to the edge of the paper.
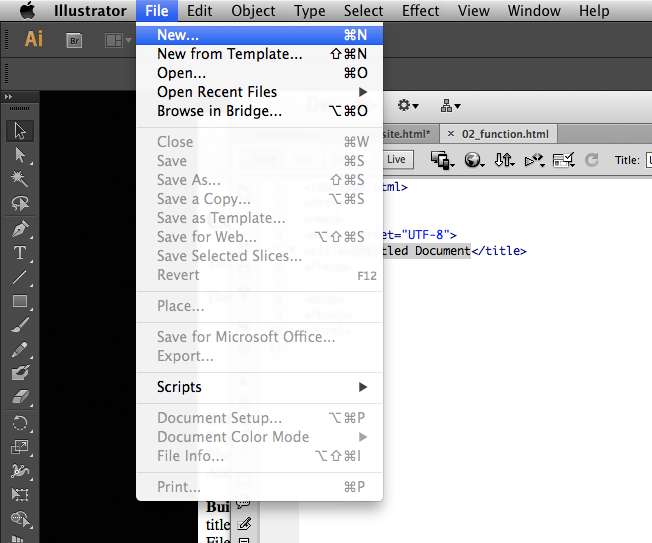
Step 1: To open a new document, go to File -> New
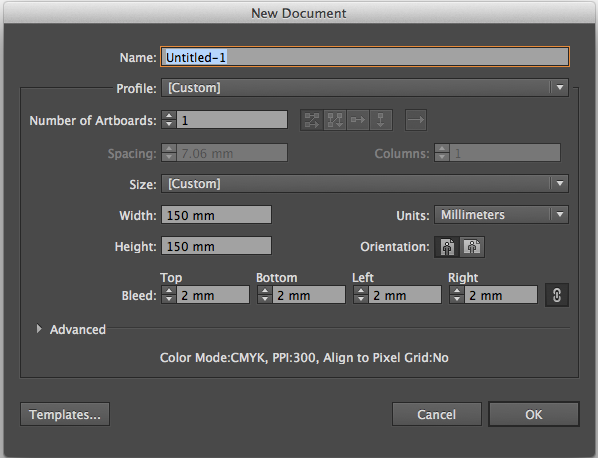
Step 2: Here is the window that will open. There are many customisation options for your document. On the 9th line, there is a Bleed option.
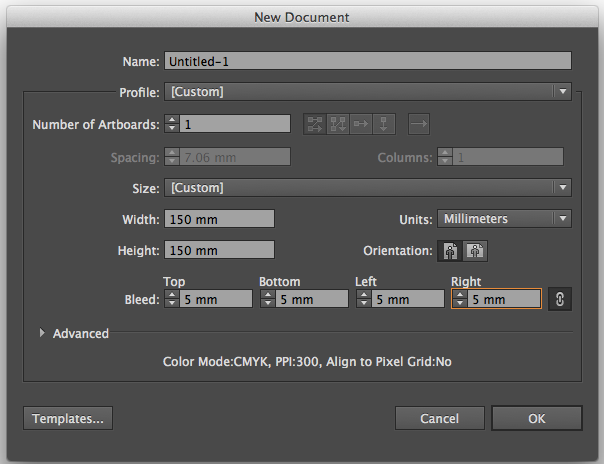
Step 3: You can edit the values in these textboxes in order to increase the bleed around the canvas.
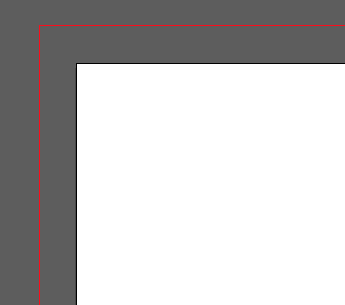
Step 4: After confirming changes and closing the dialog box, this is what the bleed will look like on your canvas.