How to Use the Gradient Tool
This step by step manual will teach you how to correctly utilise the gradient tool in illustrator. You can use the gradient tool to add or edit gradients. Gradient colors are defined by a series of stops along the gradient slider. A stop marks the point at which a gradient changes from one color to the next, and is identified by a square below the gradient slider. The squares display the color currently assigned to each gradient stop.
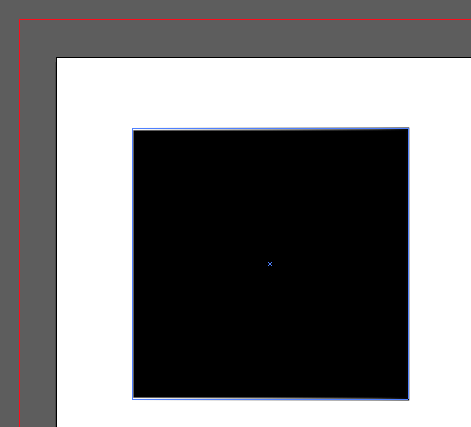
Step 1: Currently this shape is just black. I'm going to add a pink and yellow gradient to it.
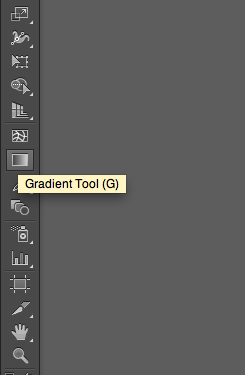
Step 2: Select the gradient tool on the tool bar as seen above.
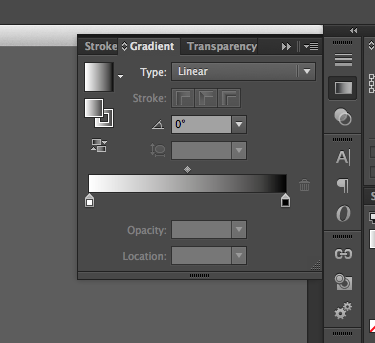
Step 3: Clicking that icon will bring up this dialogue box.
Step 4: To adjust the colours that will be used in the gradient, double click on this slider box.
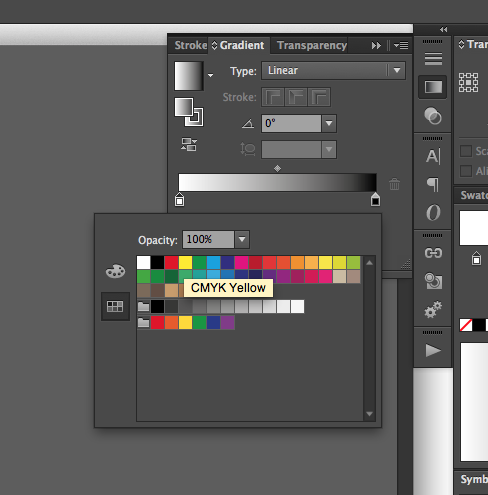
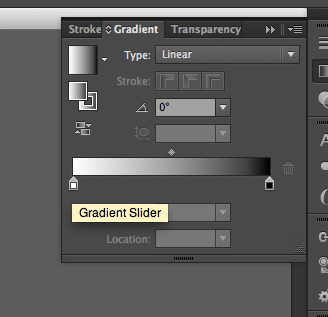
Step 5: Here you can select your desired colour. Repeat this process for the other slider.
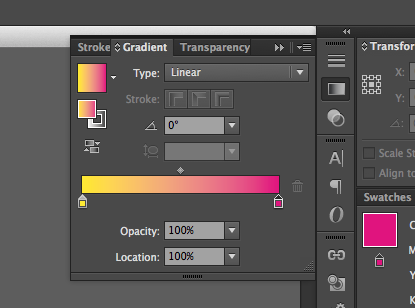
Step 6: As seen above, I have chosen yellow and pink. Drag and drop the colour box onto your shape in order to apply the gradient.
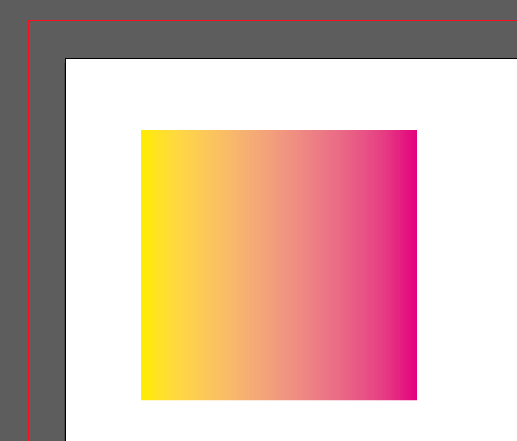
Here is my rectangle with a pink and yellow gradient.